From Rocks to Riches
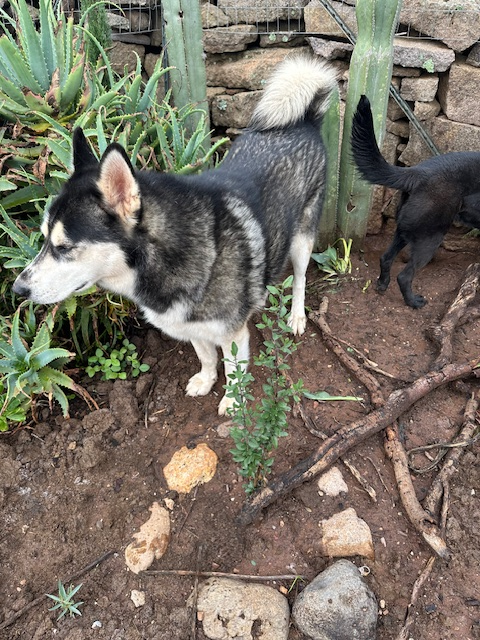
Have you ever wondered how to transform an acre of gravel into a garden? I moved to the high desert of central Mexico almost seven years ago. Three years ago, I bought a house in a tiny Pueblo Magico (Pueblo Magico is a designation awarded by the Mexican government to towns with original architecture, indigenous traditions, unique cuisines, etc. The purpose is to help support local economies and preserve cultural heritage). The previous owner had dumped several tons of gravel onto the property and called it a day as far as landscaping. There were a few scraggly bougainvilleas, some oleander bushes (that I removed after one of my dogs became sick after eating the leaves), four citrus trees, two pomegranates and some cool giant cacti.
For a few months, while unpacking boxes and getting the house semi-organized, I looked at all that gravel and felt overwhelmed. Eventually, I hired two young men to begin shovelling the gravel into wheelbarrows and carting it out into the vacant lot next door. I advertised on a local WhatsApp group that free gravel was available. But as the months went by, it became clear that I was paying lots of money for a job that would take years to complete. The men were shovelling all day and barely making a dent in the gravel. It was hot, difficult work.

PROFESSIONALS TO THE RESCUE
I live about an hour away from San Miguel de Allende, a much larger town, where I found a landscaping company who contracted to remove all the gravel for me. It took a crew of 10 men most of the summer to haul out all of the gravel and to take out the dead and overgrown agaves. But, finally—I had bare dirt. This was desert soil, which could more accurately be described as dust. A thin, anemic substance that did not absorb water. The only plants that looked healthy were the cacti. But I was determined that this garden was going to be lush and green and look like the gardens of the east coast, USA, where I grew up. I had visions of hydrangeas, irises, and a veggie garden. Ha. The desert had other plans.
UNDERGROUND ALLIES
Between the local nurseries (viveros) and mail order catalogs in the US, I bought hundreds of plants. And I’d estimate that about 80 percent of them died within a few months. These were plants that were “supposed” to be drought tolerant. Some lingered on for a year or maybe two, before giving up the ghost. So—before you plant anything, learn from my mistakes. Amend your soil first! This isn’t exciting. It’s hard work, but the return on investment is excellent. One of the most important aspects of your soil is the mycorrhizal network. This is a network of fungi in the soil that allows plants to communicate with one another, and also helps them access water and nutrients that they otherwise could not. (It’s been given nicknames like “Nature’s Internet”) These fungi form partnerships with more than ninety percent of land plants, and can extend the reach of plant roots up to one thousand times! It’s a symbiotic relationship because in return for the water and nutrients that the fungi help provide the plants, the plants provide the fungi with carbohydrates produced via photosynthesis.
TWO DIFFERENT TYPES
There are two main types of mycorrhizal fungi, endomycorrhizae and ectomycorrhizae. Endomycorrhizae (arbuscular mycorrhizal fungi, or AMF) work with roughly eighty-five percent of plant species, including most veggies, annuals, grasses, shrubs and many trees. They actually penetrate the cell walls of plant roots, creating structures called “arbuscules” that facilitate nutrient exchange. Ectomycorrhizae form relationships mainly with woody plants like conifers and some hardwood trees. Instead of penetrating root cells, they form a sheath around the root tips and grow between root cells.
You can buy inoculants on Amazon, but you can also establish the fungi (or give a boost to existing fungi) for free the way I did. First of all, collect cardboard. It’s best to not use cardboard with coatings or labels because they can contain toxins. Just peel off or remove these sections. Every time I go to the supermarket I bring home cardboard. If you see some, ask if you can take it. Also, on trash recycling days there is usually a ton of it out by the curbs. (You can also cut it up into smaller chunks and add it to your compost pile)
Lay the cardboard down in your garden on top of the soil. I have covered an entire acre, bit by bit. Then add rotted manure. I use horse and cow manure because that’s what’s available, but chicken and rabbit manure will also work. Local farmers deliver it to my house by the truckload. You’re supposed to only use ‘well-rotted’ manure, which by definition means letting it sit for six months to a year. But I’m too impatient. I spread that stuff as soon as it arrives. I have had a few plants die—but not many (due to “burning” from the excess nitrogen). If you let it age, you won’t have this issue. I also try to leave about a foot of space between the manure and any young plants to prevent burning. Within a couple weeks I usually see a drastic improvement—bigger, healthier and obviously happier plants. In addition to providing nutrients, the manure acts as a mulch and helps to keep the soil temperature lower. I spread it at a depth of about four to six inches.
Any leaves that fall from trees stay where they land. We often get high winds here, so many of them blow away, but the ones that don’t are good for enriching the soil. I also save everything except cooked bones (potential hazard for the dogs) from the kitchen. Used paper towels, napkins, eggshells, coffee grounds, and carrot tops–it all gets dumped into the garden. (A friend of mine—a fellow desert gardener—also collects her urine for the garden! I’m not quite that dedicated—plus there are plenty of golden showers already from seven dogs). I don’t have a compost pile at the moment; I just dump it in random spots that look bare, but I probably will start another pile at some point. It’s amazing how all that material breaks down into rich, sweet-smelling soil.
CREATE MICROCLIMATES
Young California pepper to the left (I just planted it two months ago), in front of my garden wall and an older pepper tree on the right side of the road. The same tree pictured in second photo, closer.

Another tree that is right up there with the pepper tree is the honey locust, ‘Shademaster’ variety (Gleditsia triacanthos). I have tried lots of different trees, but these are probably my favorites. They don’t mind alkaline soil or intense heat, and when established are very resistant to drought. Currently, I have twelve of these trees planted. They’re two years old now and are growing quickly. In the fall, the feathery leaves change from bright green to a beautiful, buttery yellow. They cast a filtered shade and help the plants beneath be less heat stressed. They are supposed to grow thirty to seventy feet tall with an equal spread, but I doubt if they will grow much beyond the lower limits in this climate.
If you want to try these trees (or any others) and can’t find them in your area, I highly recommend Fast Growing Trees. I’ve ordered from lots of online nurseries, and FGT is one of the best. Not only are their plants very high quality, but they are guaranteed. The first six of the honey locusts arrived severely damaged, and these were the larger size trees (six-seven feet), so I had paid over a thousand dollars total. FGT immediately replaced them all, no questions. I also planted the broken ones because I couldn’t bear to just throw them away, and they have grown new leaders and will be fine!
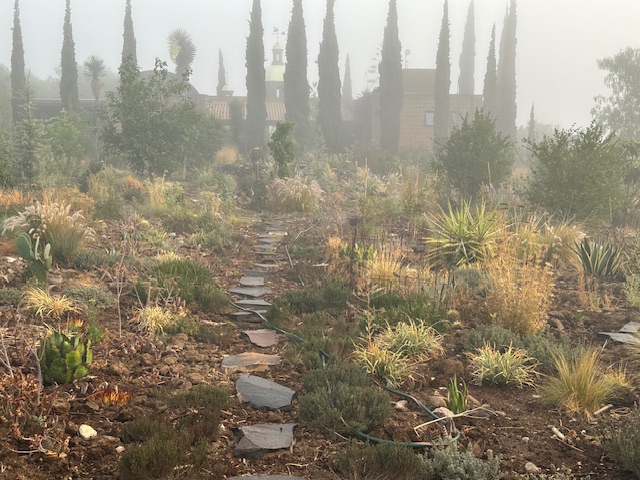
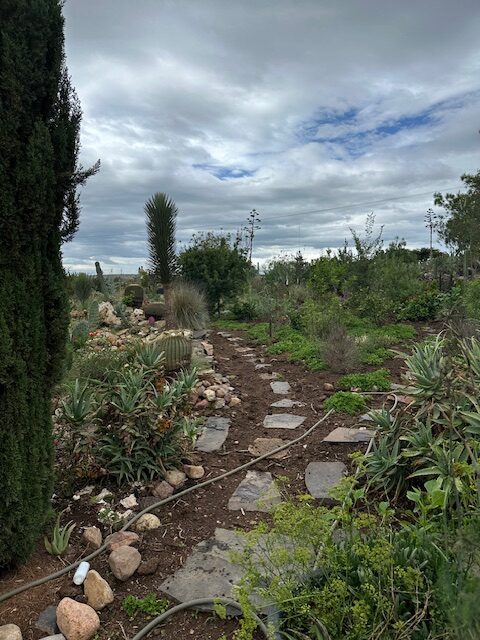
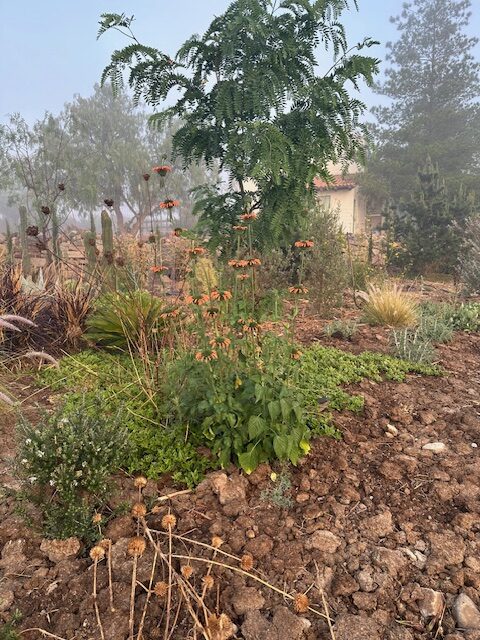
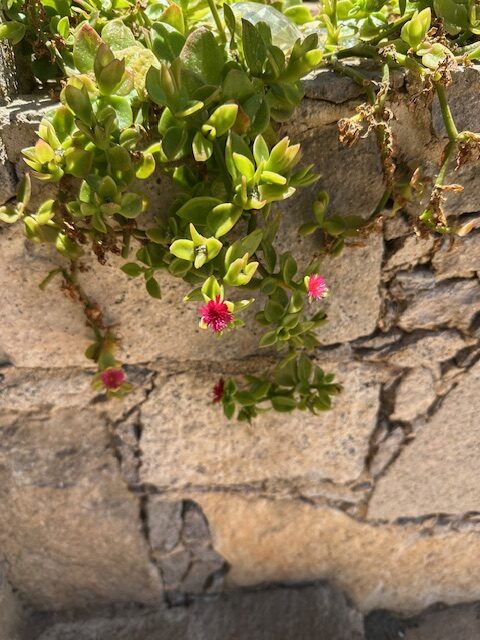
Another way to help keep the soil temperatures cooler is with ground covers. I tried sowing red clover (just because I had a bag of seeds) but even with frequent watering it was too hot for them and they all died. I had better luck with thyme; if they are watered at least twice a week they do fairly well. But the best ground covers I have found are ice plant and a spreading succulent that the Mexicans call rocío (Aptenia Cordifolia), with tiny pink flowers that the honeybees love. That’s what you see in the photo above, growing with the orange Lion’s Tail (Leonotis Leonurus) They were here already on the property, and with a little water they started spreading like mad. I’m gradually pulling up rooted sections and establishing them in different parts of the garden. My goal is to have all the soil covered, and I think within the next two years I’ll be able to achieve that. Close up of rocío below:
CAN’T I JUST BUY FUNGI ON AMAZON AND SKIP THE CARDBOARD?
Well, yes, you can. In fact I have bought a few different brands, but they aren’t cheap when you have a lot of plants to inoculate. And you’re still going to need the manure or other organic material for the fungi to really flourish. But if you have a small garden, buying your fungi would be less labor intensive. So—read the labels and look for:
- Products containing multiple species of mycorrhizal fungi instead of single-species products
- High spore counts (at least 100 spores per gram)
- Products formulated for arid conditions
- Product containing both spores and fungal fragments
DO NOT DISTURB!
I haven’t mentioned this yet, but it’s important to only dig in your soil when absolutely necessary—ie when planting something new. Every time you dig, you are cutting into and disrupting the fungal network—something you don’t want to do. Just keep adding organic matter and mulch. Supposedly, you should add two inches of compost per year, but I am constantly adding it. I’m hoping in a couple more years when the garden is more mature, I’ll be able to slow things down a bit.
IS THIS EVEN WORKING??
Amending your soil isn’t an overnight process. It will take time for the fungi to become established. Think of it as an investment. Gradually, you should begin to notice the following:
- Improved drought tolerance—Plants showing resilience during dry periods
- Reduced irrigation needs—you need to water less frequently
- Improved soil—less erosion and compaction
- Better flowers and bigger fruits
- Soil clumps together—when you pull a weed, you can see soil clinging to tiny white threads—these are fungal hyphae
I’d love to hear your thoughts—and happy gardening!